
In the spirit of back-to-school season, I thought I’d share a guide to sewing a simple book. This is a skill I picked up in a bookbinding class and have used ever since to give my DIY comics, zines and sketch collections an extra special touch. There’s an entire beautiful world of bookbinding arts and techniques to explore; I especially love the look of coptic stitch, though it takes a lot of time and care. But even someone who has no other sewing experience or skill (read: me, I’m someone) can do the technique I’m sharing today.
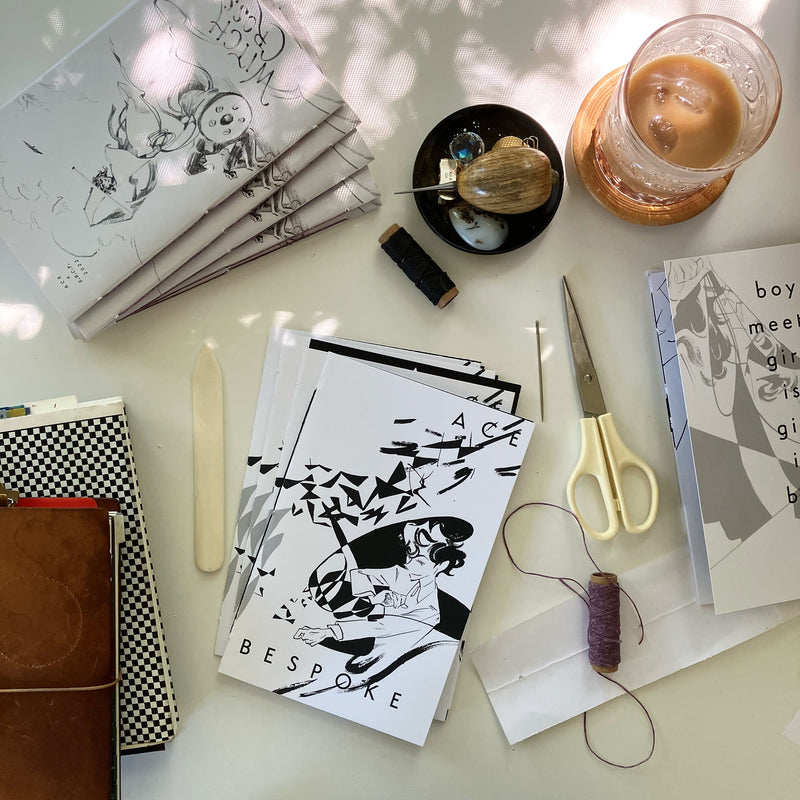
1) Gather your materials:
- The paper you’re going to sew together into a book. Keep it between 2-8 sheets for simplicity’s sake. You can use the same paper throughout, or mix and match. Keep in mind, paper of extreme weights—either very delicate or very thick—may be harder to sew neatly. For my zines, I choose lightweight paper for the guts of the book and a heavier, different-colored sheet for the cover.

- Waxed linen thread. The wax helps it pass more smoothly through your paper as you’re sewing.


- A needle. The eye should be a size that your thread can fit through comfortably.

- An awl.

- A surface you can punch holes in without fear. I use an outdated insurance pamphlet and a piece of cardboard.

- (Optional) A stick of beeswax, in case your thread isn’t waxed or needs extra help.
- (Optional) A bone folder, to make your folds more crisp.
- A pencil.
- Scissors.
- A scrap sheet of paper for making a template. I use regular computer paper for this. Instructions for making this are below.

2) Make a template. This will tell you where to poke the holes in your book paper for the thread to go through.
- Cut a strip from your scrap sheet. It should be the same height as your book is going to be, and 1-2” wide.
- Fold the strip in half vertically and horizontally.
- Mark the center of the strip where the folds cross with a pencil.
- Measure 1/2” from the top and bottom of the strip. Mark these two points in the fold as well.
- Now you should have three pencil dots going down the center fold.

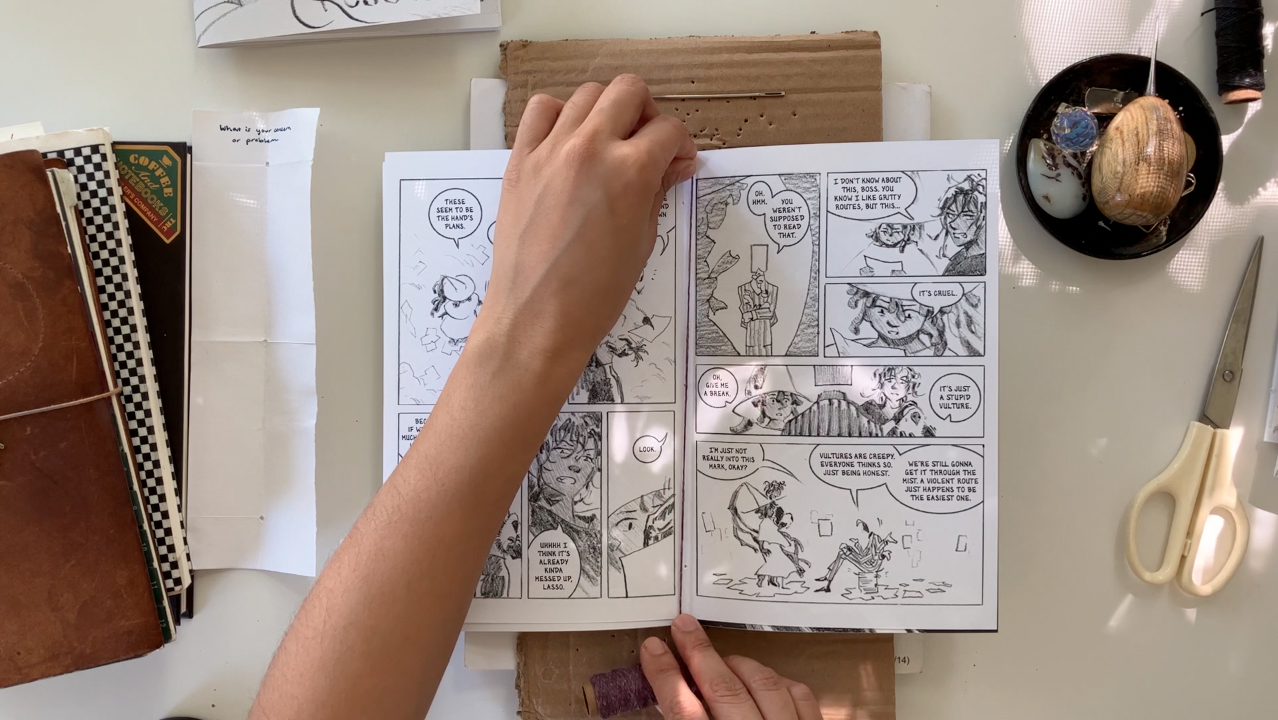
3) Prepare the book block to sew. I’m doing the cover sheet separately from the others, because it is a thicker paper and behaves a little differently. But it’ll still line up with the others in the end, since all of the sheets will use the same template.
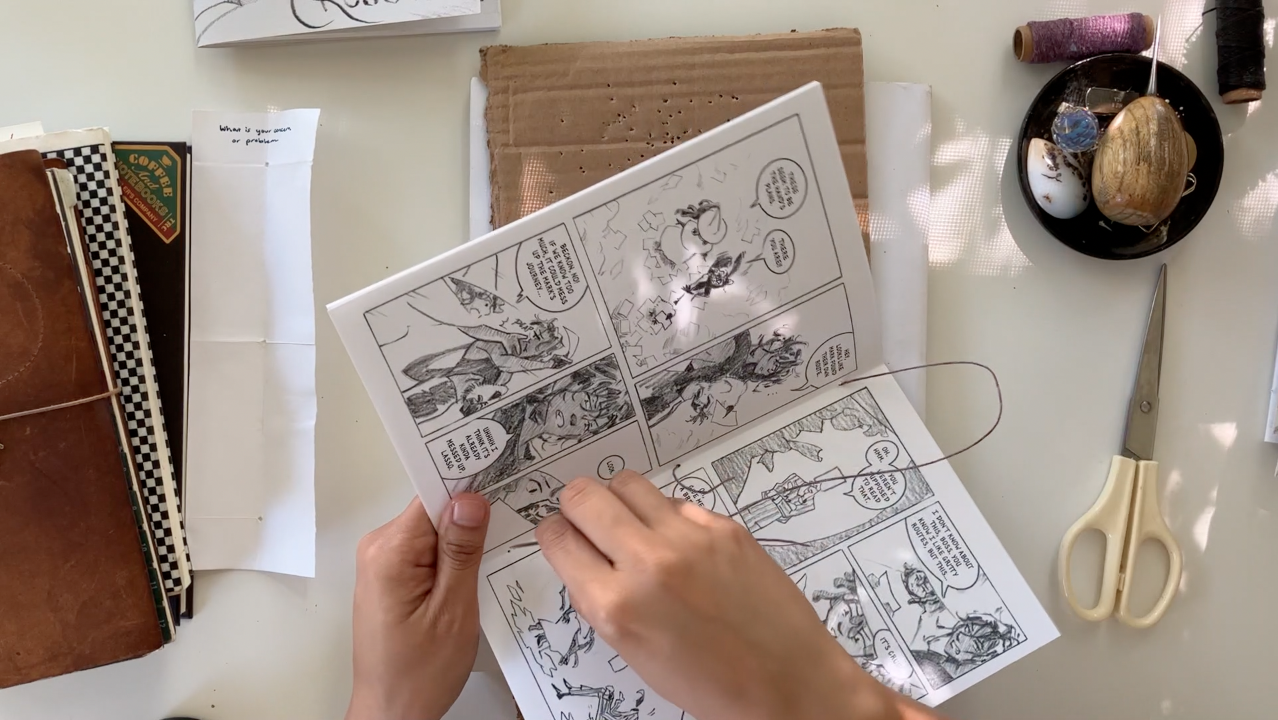
- Pick up your book paper sheets and shuffle them against your table surface into a neat stack or “book block”. Line up the corners as best as you can.

- Bend the block in half. Again, align the corners as much as possible. Then commit to the fold. You can run the edge of the bone folder along the fold to make it crisp.
- Unfold the block. Place it on your hole-punchable surface.
- Place your template in the center fold of your book block.

- Now the fun part. Line up your awl with the three dots on your template and press down to punch three holes in your book block. I start with the center hole so I have it as a reference point. You don’t need a ton of pressure or force, unless your paper stack is super thick. Just enough to pierce through every sheet of paper in the book block.

- Between punching holes, check and make sure your template is still flush with the center of the book block.

4) Ready to sew! Set your template aside—you can save it for the next book you make of this size. As long as the holes aren’t too ragged and inaccurate, you’ll be able to use it again and again.
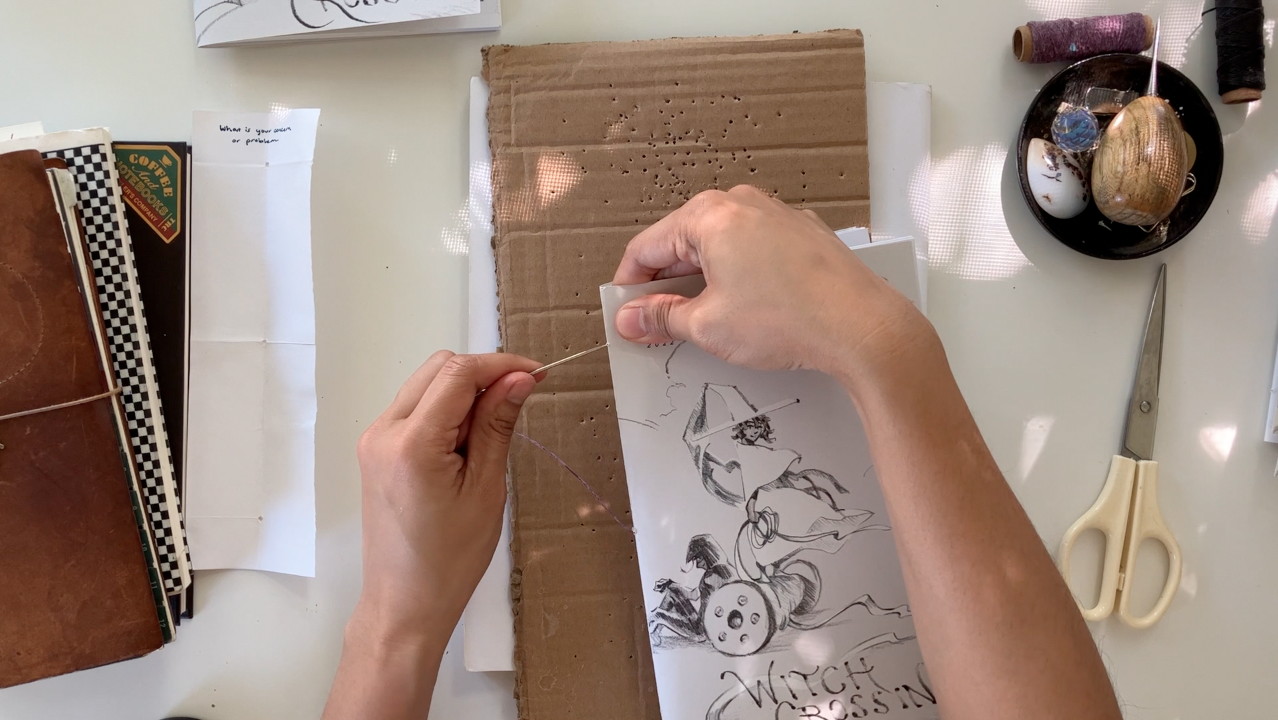
- Thread your needle. How much thread do you need? It depends on the size and thickness of the book. Generally, if you pull 2.5 times the height of your book block, that’ll be enough for this simple stitch. When it doubt, pull some extra—you can always cut it later if it turns out to be too much.
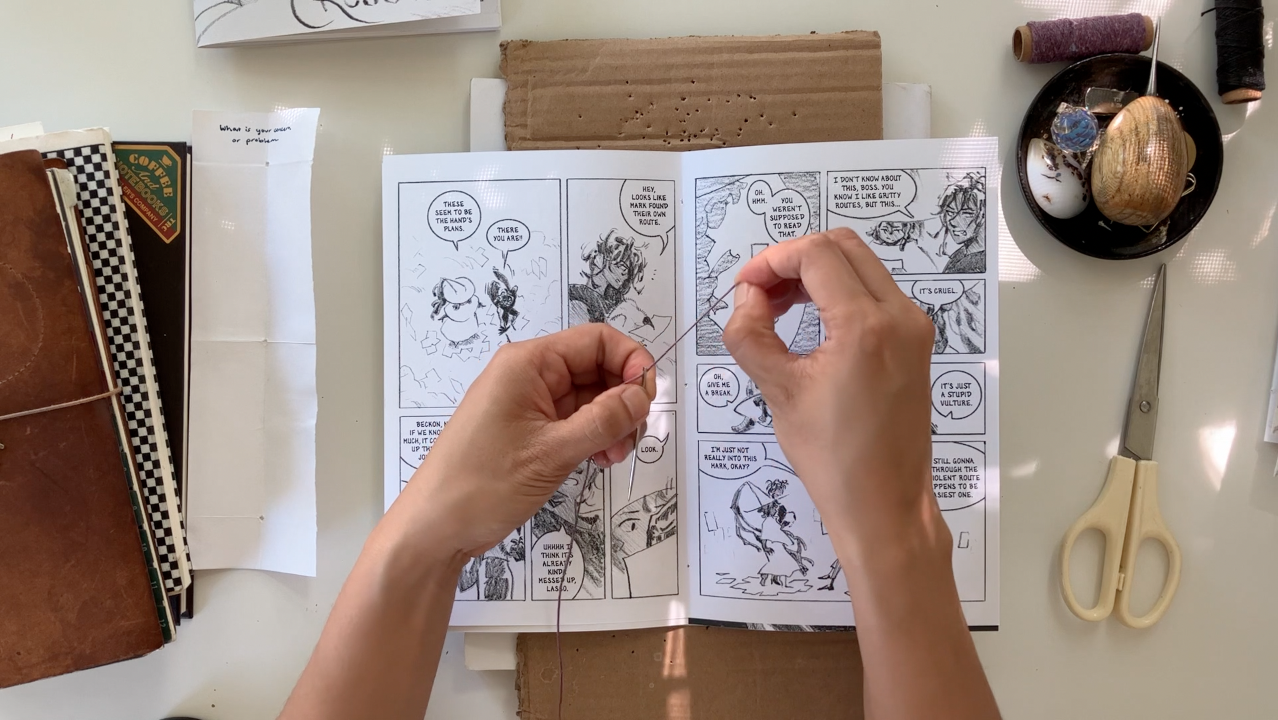
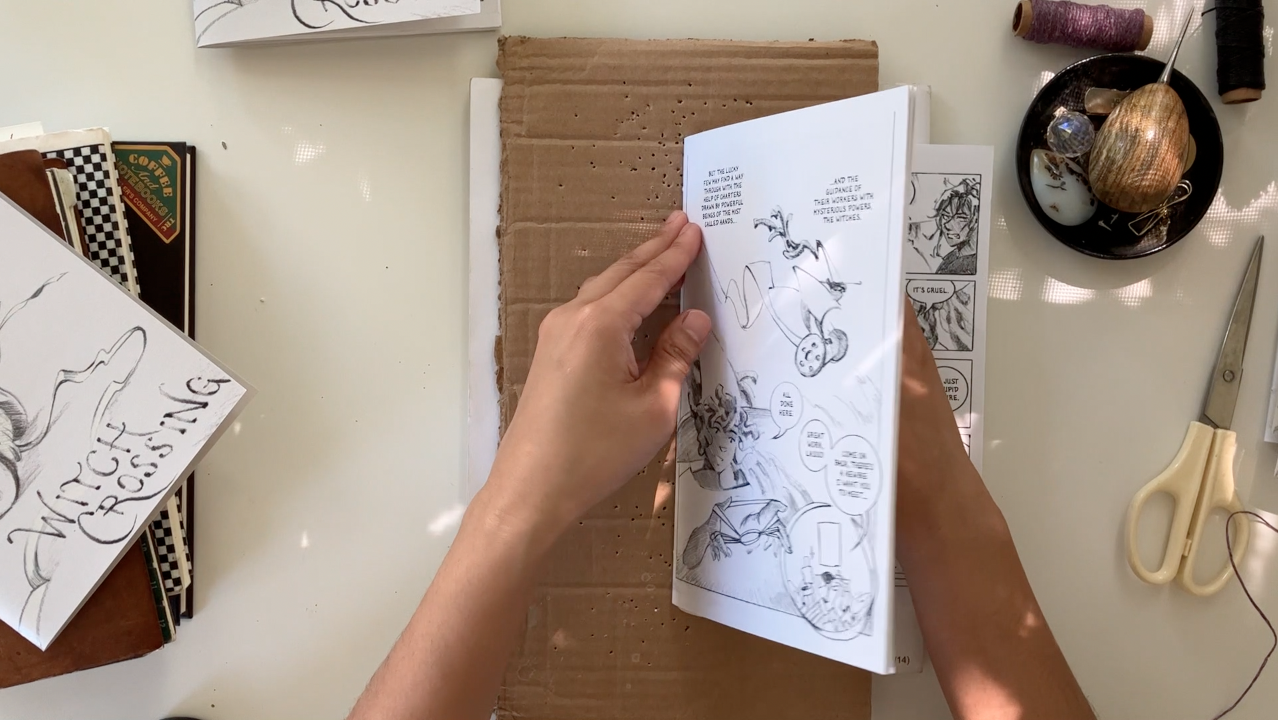
- Pick up your book block (including cover sheet) in one hand. Make sure the sheets are in order and aligned as best as you can. The inside of the book should be facing you.
- Pass the needle through the center hole, going out. Pull most of your thread through, but leave a few inches of it inside for tying it off later.


- Now your needle is on the outside of your book. Pass it through the top hole, going back in.
- Now your needle is inside the book again. Pull it up and pass it through the bottom hole, going back out.
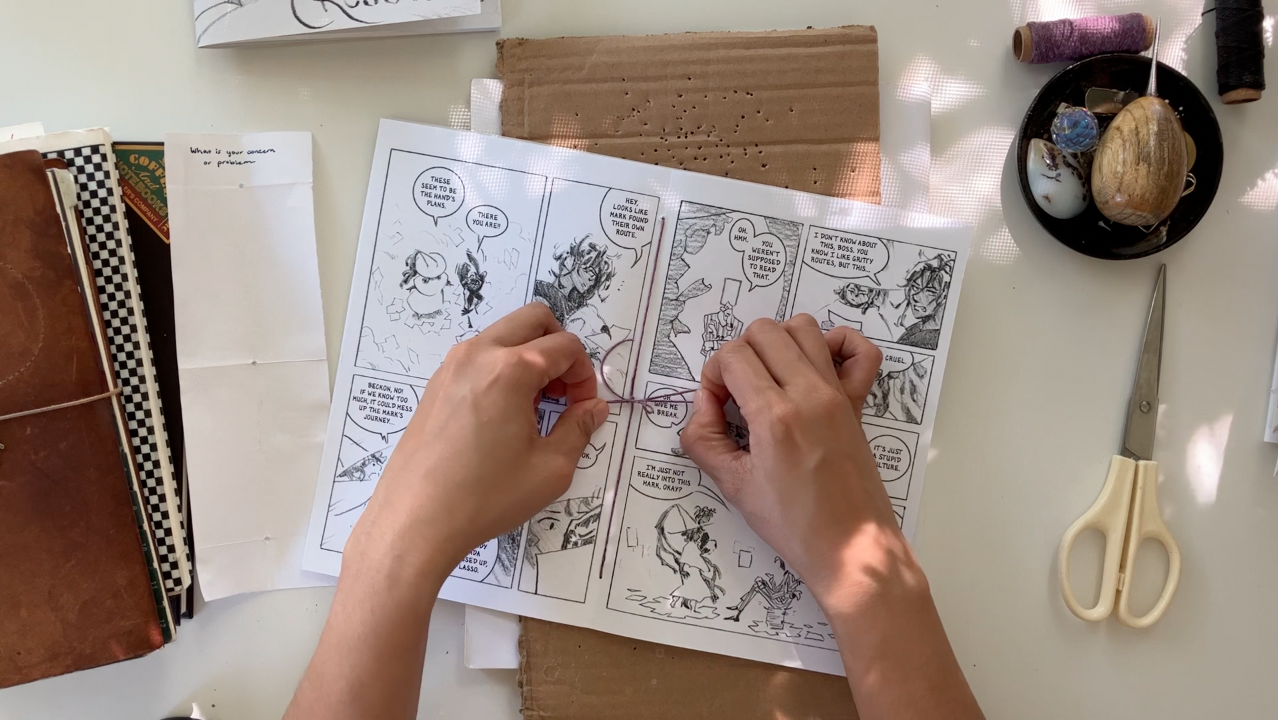
- Now your needle is outside the book. Pull it through the center hole, going back in.


- The thread should be nice and taut throughout. If it’s sagging or loose anywhere, give it a gentle tug to adjust as needed.
- Arrange the ends of your thread on either side of the thread running vertically through the center. Then tie the ends together. Tying them around the center thread keeps it neat and secure. For extra security, you can double-knot and/or add a dab of glue on the knot.


- If you like, you can trim any extra thread left over after tying the knot. I like to tie a small bow and leave it.


Congratulations! You made a hand-sewn book!


It’s a small touch that can take extra time and effort—oh, the nights I’ve stayed up sewing thirty books for a con the next day—but the experience of turning the page and finding a bow there, the way bright threads stands out on the shelf of someone’s indie zine collection, that’s worth every stitch.


Hand-sewing is suitable for books distributed in a small community, where the stories shared inside can feel so personal. That intimacy makes it perfect for journaling, too, I suspect. As long as I’ve been doing this, I’ve actually yet to sew up a TN insert this way…maybe one of you will beat me to it.
Happy crafting!
—
Text and photos by: A.C. Esguerra
Where to find A.C. : instagram @blueludebar
Read other stories by A.C. : Here
Bk Artifacts Featured: